Inspection of Seal Surfaces
Initial situation:
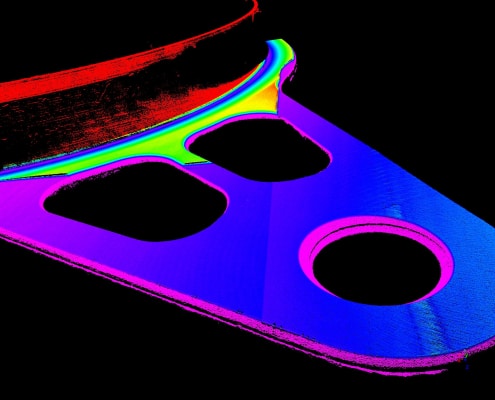
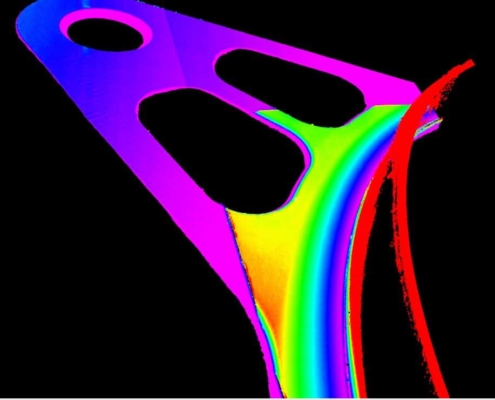
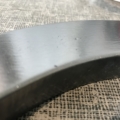
Sealings are a key element in many industries, often used in safety-relevant areas. They feature two relatively flat surfaces, required to prevent leakage of fluids or escaping of gas. In the current application, the task consisted in the continuous supervision of the flatness of the surfaces of the parts within the range of some hundredths of a mm, with a simultaneous check for defects.
Particular challenges
The seal surfaces in this case are made of very glossy metal, with the drawback of emitted reflections. This effect during an optical measurement must be eliminated. Furthermore, it is absolutely necessary to guide the laser scanner on a linear path over the surface, since fluctuations of distance may falsify the measurement result.
QuellTech solution
The Quelltech model Q5 disposes of an adequate resolution in X and Z direction and proves to be able to verify the planarity tolerances and to measure the size of defects. Meanwhile a precise rotary axle, used as guiding element, moves the scanner over the surface to be evaluated. Interfering artefacts caused by the glossy finish are suppressed by particular algorithms integrated within the software. As an encoder value is permanently supplied by the rotary axle, the position of each scanner profile within the point cloud can accurately be determined. For calculation of the planarity, the measured point cloud is defined as zero level, so possible trends with respect to the height -e.g. an inclined plane- can be compensated.
Benefits for the client
Before implementation of the QuellTech solution, only manual inspections were possible, on the basis of random sampling. Thanks to the new 100% inline inspection, rejects can be discovered at a n early stage and automatically removed from the production process. Furthermore, a close monitoring of the trends could be used for set-up of a plan for preventive maintenance of the existing machine.


