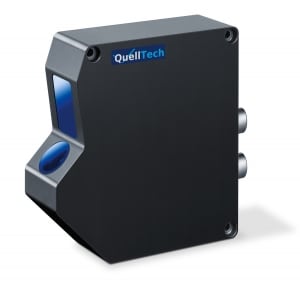
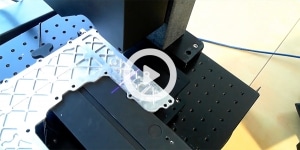
Q5 laser scanner for 2D and 3D measurements
The optimum method for automatic non-contacting measurement of:
Free Shape Comparison | Profile | Width | Height | Depth | Edge | Groove | Channel | Bead | Angle | Roundness | Presence | Planarity | Parallelism | Deformation | Flushness | Volume | Position | Completeness | Track Accuracy | Doubling
Principle: Laser Line Triangulation
QuellTech laser-scanners make use of the triangulation principle to detect the two-dimensional profile of surfaces. By means of particular optical components, a point-shaped laser beam is expanded to a line and projected to the object of interest. The diffuse light of the reflected laser line is captured by an objective at a certain angle and then directed to a two-dimensional receiver chip.
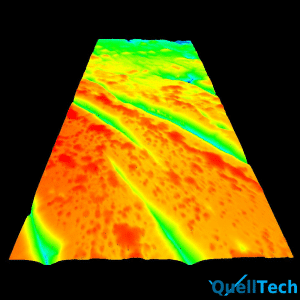
Based on distances and angles known, a precise calibrated height value (z) is calculated for each pixel in the x level (laser line), resulting in a precise profile in the x-z plane of the sample. If the scanner is guided over the sample (y axis), a series of profiles is created forming a three-dimensional point cloud in space. This point cloud can be subjected by dimensional control carried out by the software.
Q5 laser scanner series:
High resolution and scan rate combined in a compact unit
The QuellTech Q5 laser scanner series combine the advantages of small form factors with high resolution and a fast scan rate. The Q5 is suitable for measurement applications with limited space requirements and with robust requirements. The Q5 has proven itself even under harsh environmental conditions such as the effects of heat, extraneous light and dust.
The sensor disposes of different set-up possibilities with respect to the analysis algorithm. Measurement results are delivered via Ethernet, calibrated in the X / Z plane.
Especially with light-absorbing surfaces, the Q5 laser scanner offers the user the opportunity to work with different laser powers. Optical power spectra from 1mW up to 500 mW are available
High Scan Rate with up to 14,000 Profiles per second
Due to an appropriate limitation of the image range (AOI) in X and Z direction, the scan rate could considerably be increased.
- High resolution and detection frequency with up to 14.000 profiles and 28 Mio. points per second
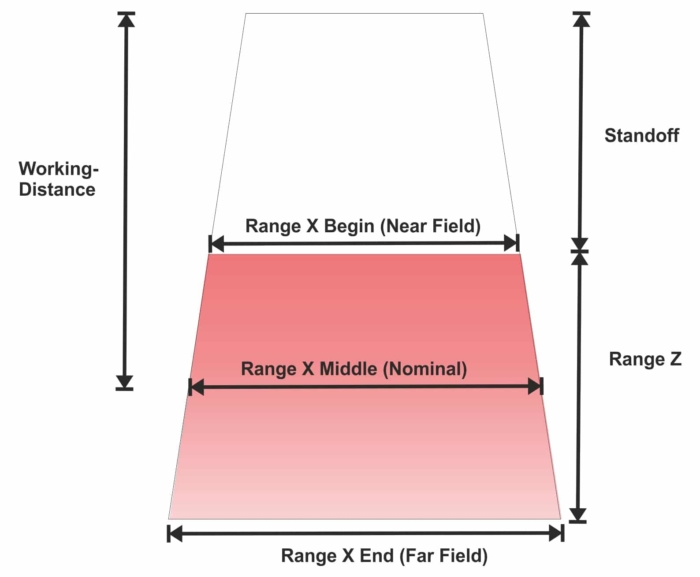
- X measuring range from 10 to 1022 mm
- Z measuring range (height) from 5 to 878 mm
- Laser wavelength blue 405/450nm, red 650nm
Further features of the Q5 laser scanner
- Max. resolution: 0,3 µm (numeric resolution)
- Special algorithms for highly reflective materials, COG, Finite Impulse Response
- 1 Trigger Input, Encoder Input RS422
- Master-Slave Configuration for Multi-Scanner-Applications
- Individual extremely accurate calibration, directly processed within the laser scanner
- Electronics and laser protected by temperature sensor
- Genicam interface
- Free Demo software for feasibility studies
- Laser Safe Input
- Machine Vision Software
Applications:
- Measurement of aluminum ingots
- Angle adjustment for airplane flaps and ailerons
- Inspection of printed circuits
Can we help you with your measurement task?
We are happy to carry out an initial test measurement for you. We give you an assessment of the feasibility of your measurement task.
We support you technically and in terms of sales in further approach and implementation.
You are currently viewing a placeholder content from Facebook. To access the actual content, click the button below. Please note that doing so will share data with third-party providers.
More Information
