Initial situation:
Radius measurement after deburring and edge rounding sheet metal parts
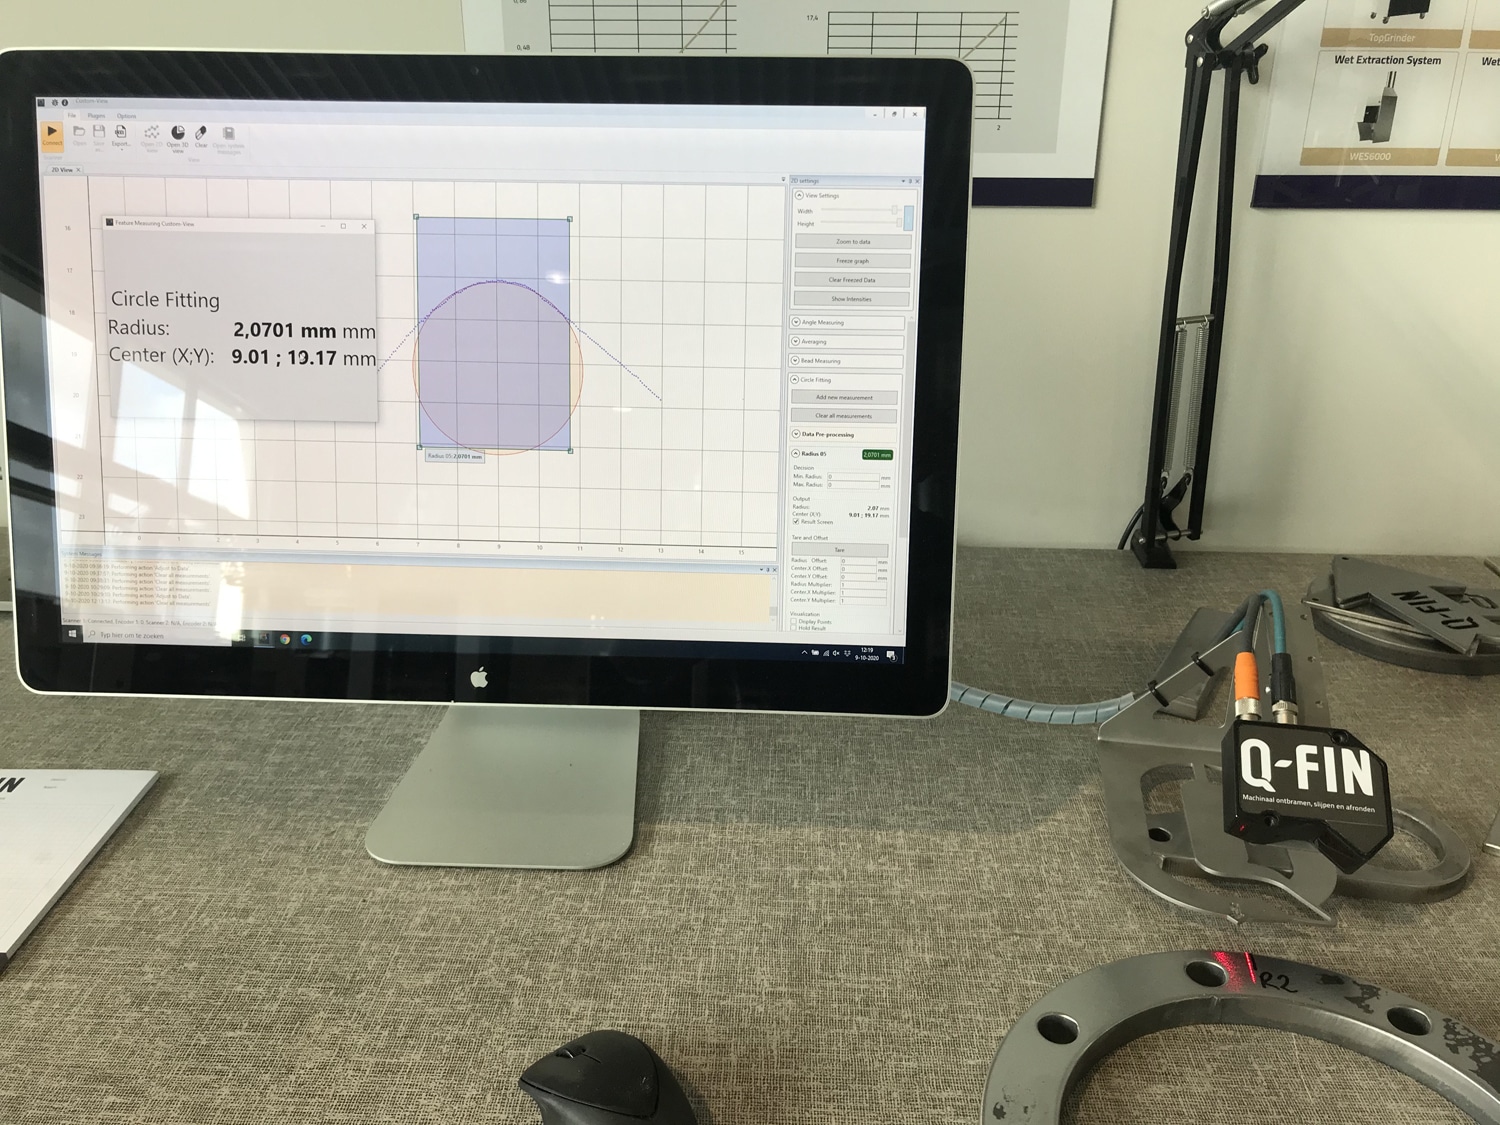
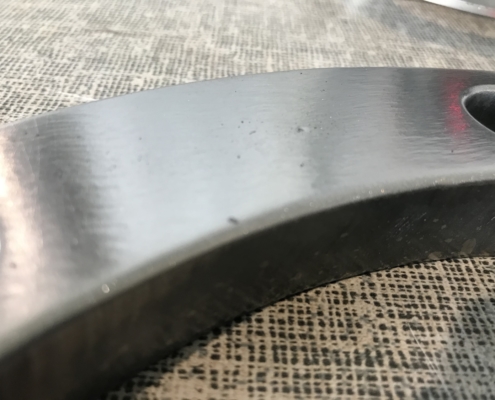
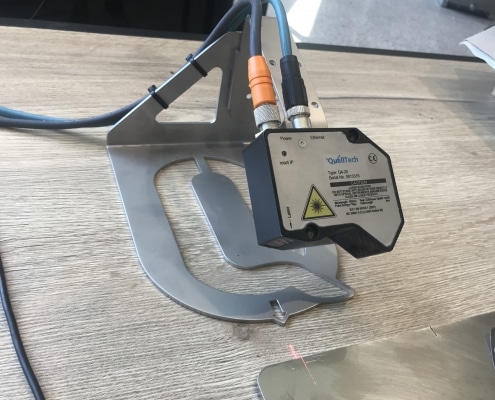
Shearing or laser cutting processes for metal parts often leave burr traces on the surface. This is the case with all sheet metal parts for example: steel, stainless steel or aluminium. In order to limit this type of irregularity, several burr standards have been defined by end-users of metal sheets. Additionally, burrs can end up in injuries or entail problems, paint and coating also adhere much better to products with a good radius. For these reasons Q-Fin Quality Finishing has installed a Quelltech radius measurement tool in their laboratory in Bergeijk, The Netherlands.
Q-Fin can now show the exact the amount of edge rounding of the products after deburring and finishing them on their machines to potential customers.
Particular challenges
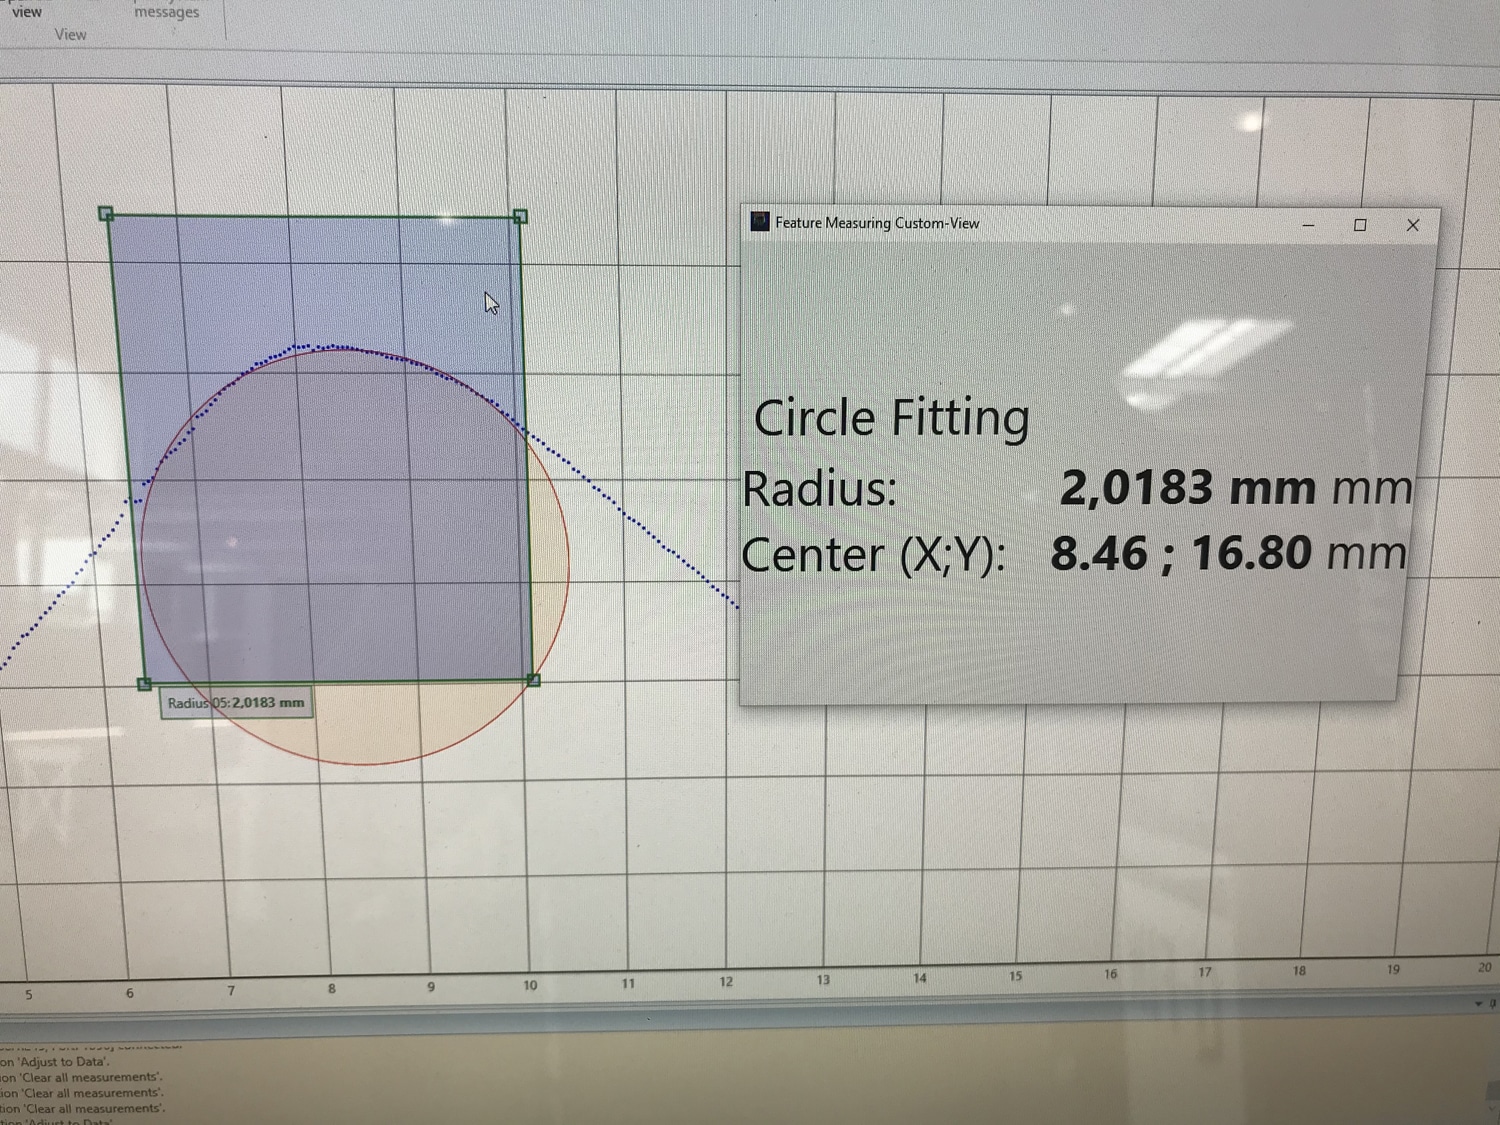
The size of burrs that their customer are dealing with are in the micrometer range, and some of them may not be discovered by visual inspection. Furthermore, during deburring the metal parts may be subjected to deformation, so their dimensional integrity must be checked as well. For example, a customer needs a R2 (2mm) radius for a good adhesion of the coating.
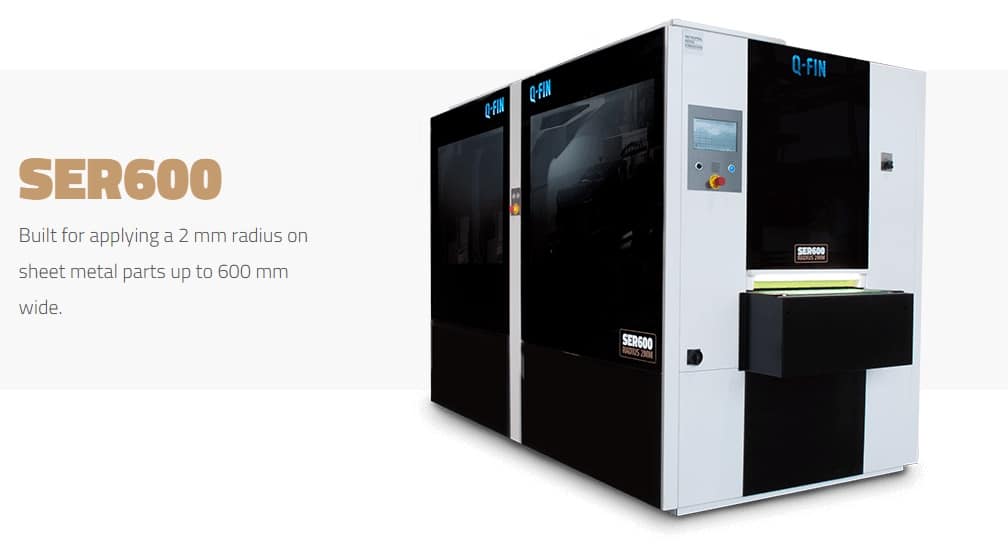
Q-Fin can now set up their SER600 machine so that the products are finished with a radius of 2mm with a high throughput.
Q-Fin solution with QuellTech Laser Sensor
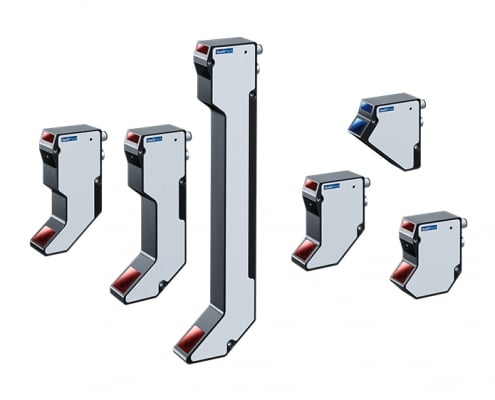
The robustness of a manual inspection cannot be compared with the speed and the repeatability of a 2D profile inspection by means of a contactless QuellTech Q4 laser scanner. In addition to the verification with respect to burrs and radius, QuellTech decided to fit a circle to the edge to see whether metal sheets still preserve their original form after deburring operation. This means that our inspection covers two tasks at the same time.
Benefits for the client
Thanks to QuellTech’s laser scanner, the customer is able to deliver parts not only in conformity with the edge rounding requirements of the end-user, but also maintaining their original form. Customer using this device can considerably reduce their inspection time and save on labor force.
You can make an appointment at Q-Fin where can they now have the ability to demonstrate that their deburring machines can give the exact radius that is required e.g. a radius R2.
Contact Q-Fin:
Q-Fin Quality Finishing Machines
Wilgenakker 8
5571 SJ Bergeijk
The Netherlands
T +31 (0)497 58 10 18
Sales Germany:


 QuellTech GmbH