Detecting coordinates of tread groove and peak on tires
Initial situation:
The client is one of the oldest tire manufacturers in the world. He is preparing a quality improvement for some of his production lines and establishes a fully automatic process.
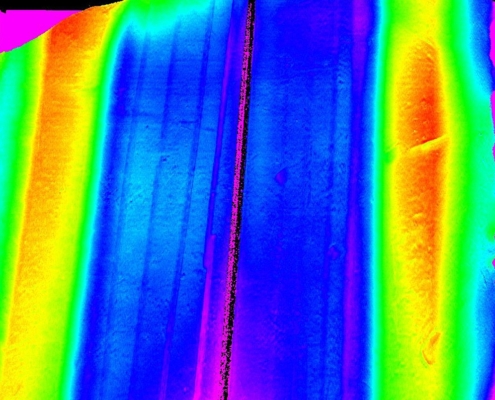
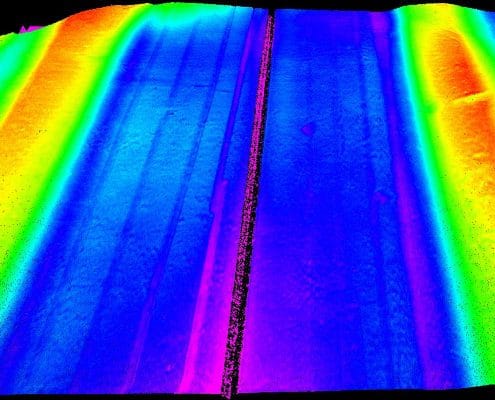
One of the corresponding tasks refers to the preproduction phase, in which an inspection of the depth of the tread grooves, the height of the adjacent peaks and their lateral distance to certain reference lines of the rubber layers takes place.
The quality of the products until now was dependent on manual tread groove and peak inspections of workers.
Particular challenge
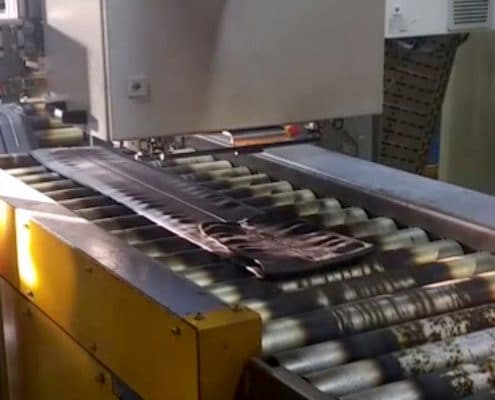
Newly produced rubber layers are not easy to inspect by laser scanners, since the black surface is highly light absorbing, so requires lots of light power. For this reason, a laser scanner with a powerful light source is imperative.
QuellTech solution
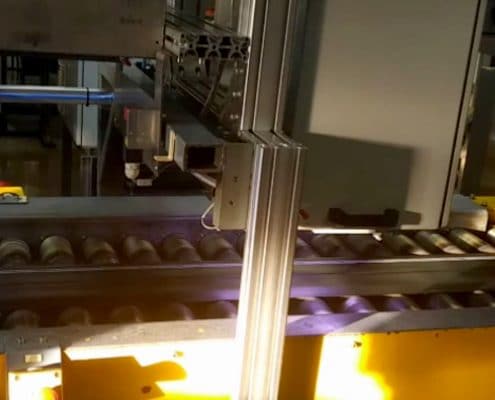
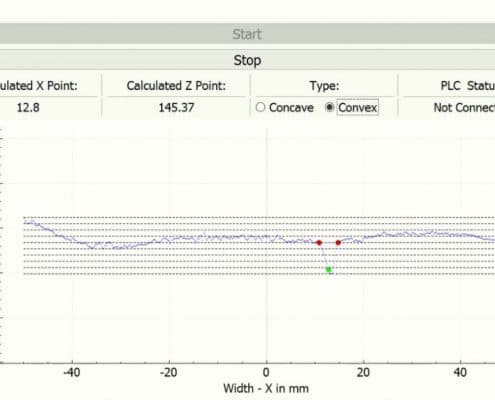
A high-resolution QuellTech 2D/3D Q5-240 Laser Scanner proved to be adequate for this project. It is placed over a continuously running conveyer belt. The efficient QuellTech measurement software is integrated as well. It is used for detection of coordinates of the base of the tread grooves and the peaks. After completion of each 2D profile measurement, coordinates are calculated, and results are sent to PLC.
Result for the client
At a reasonable cost level, the customer could achieve a 100% continuous inline inspection in his production process. Thus, false positives and negatives are now identified more reliably.
You are currently viewing a placeholder content from Facebook. To access the actual content, click the button below. Please note that doing so will share data with third-party providers.
More Information
 QuellTech GmbH
 QuellTech GmbH