Initial situation:
Automated quality control for pipeline construction in oil and gas industry
Together with consumption of natural gas, the market for pipeline construction is expected to increase further, currently at a rate of 4% between 2020 and 2025.
Already during manufacturing of the individual segments, quality control is an essential element, and this remains identical for the assembly of the entire pipeline. The lifetime of a pipeline depends on the reliability of several processes belonging to the construction process, like welding, cladding, and coating. Preparing measures for precise assembly of the individual segments are required as well.
Until now, testing mainly takes place in form of manual methods.
Particular challenge
Manual inspections for pipeline manufacturing and construction are resource-intensive and may take a long time. A standardized quality level for the whole work cannot always be established. A well-known problem in this context is the inspection of root-beads of the seams inside the pipes, together with the roughness of the surfaces subjected to blasting in their surroundings. Another issue of concern consists in the bevel at the faces of the tubes, which must be checked before starting the actual assembly procedure.
QuellTech solution
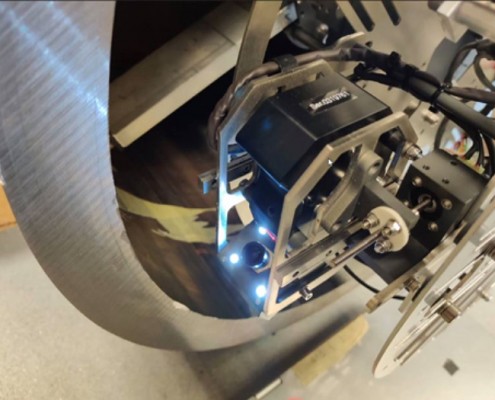
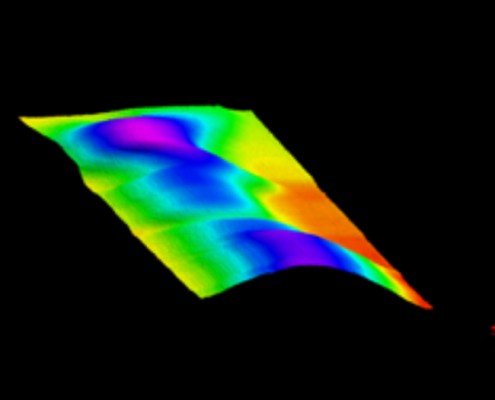
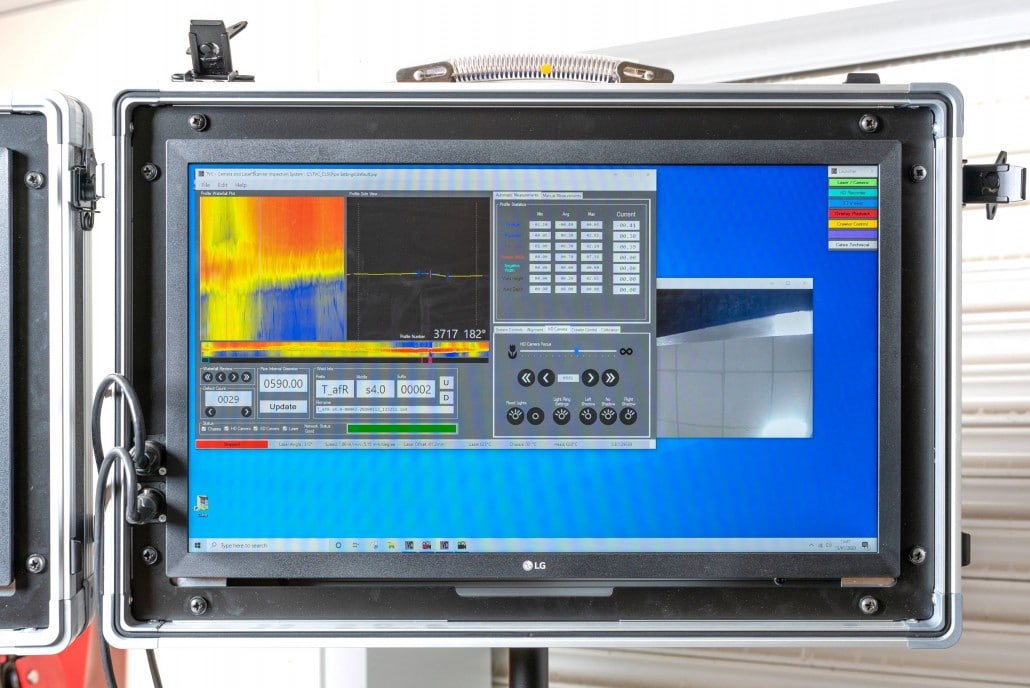
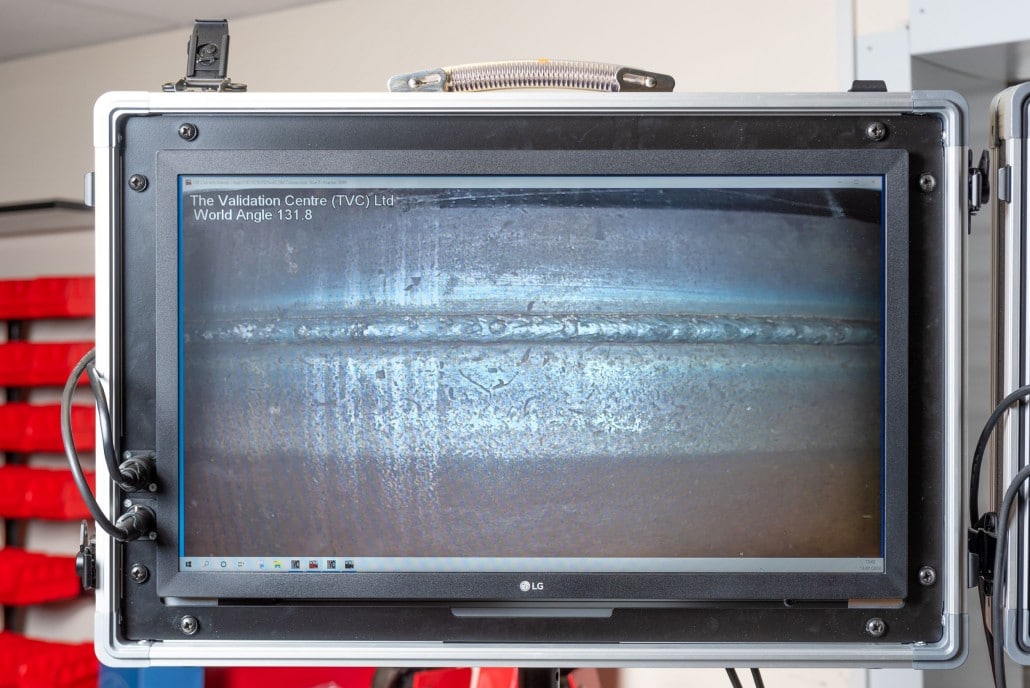
The rugged laser measuring equipment of QuellTech GmbH offers implementation of high-speed, contact-free inspection procedures even in a fully automated run. Weld seams can be optically examined to 100% giving a visual record. This includes parametric defect highlighting for automatic pass/fail results with live and post-weld measurement for weld defect criteria, HiLo and re-entrant angle.
Pipe end bevels can be inspected in full while simultaneously measuring the ovality, generating fit-up sequencing and external Hilo analysis to reduce time, wastage and improve the integrity of the welds. This information is combined with the internal weld scan as a complete package of data for each weld.
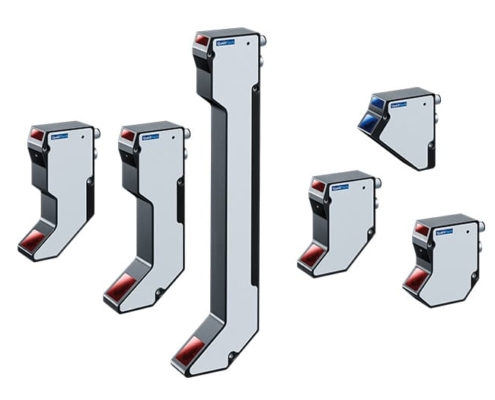
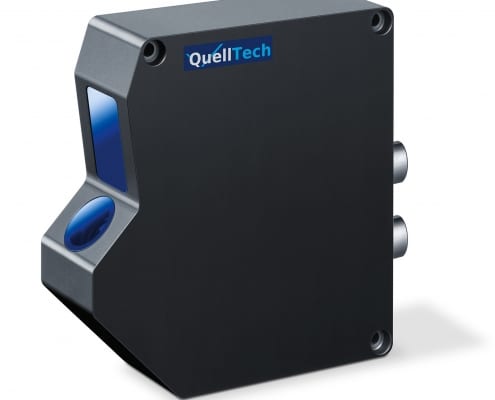
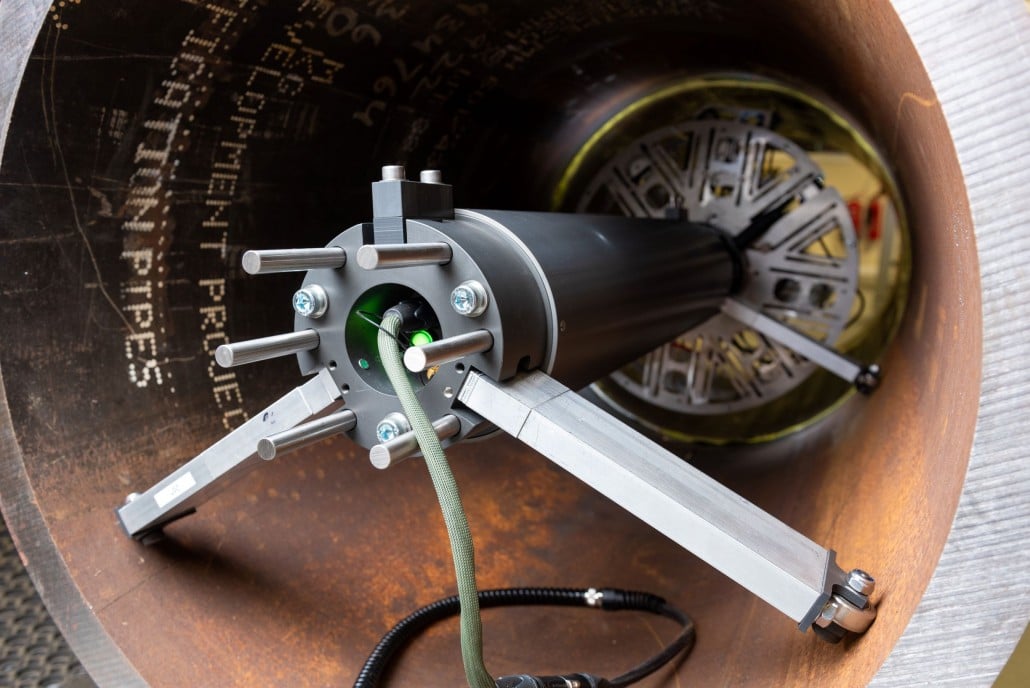
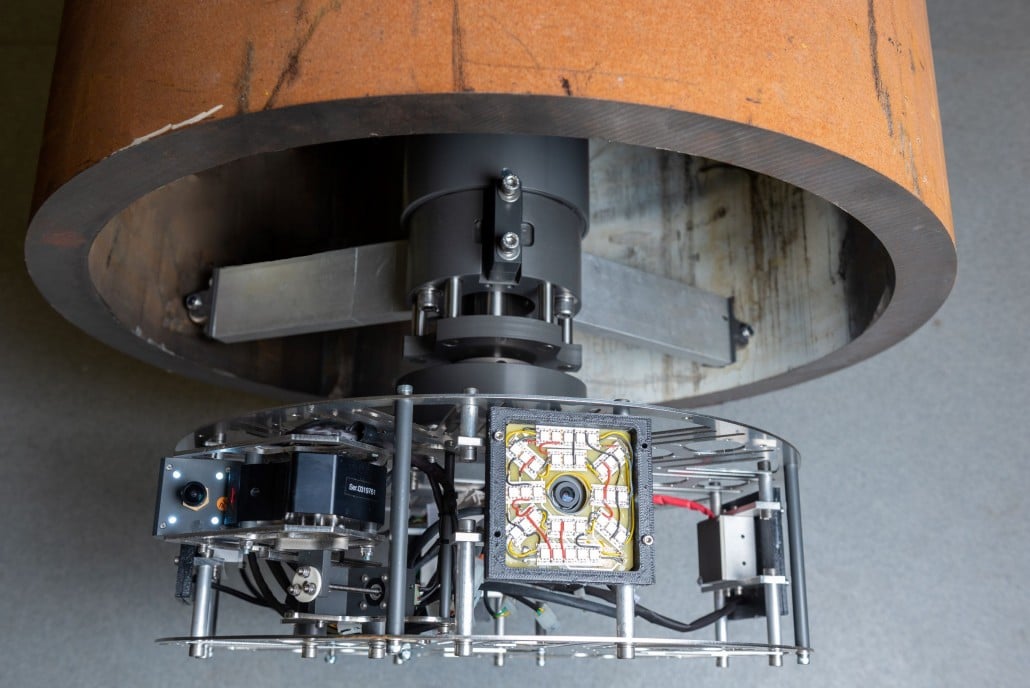
The QuellTech laser sensor family Q4 or Q5 used for these tasks is generally mounted on an arm of a rotational axis, to scan along the complete 360° angle of the internal surface in a sequence of strips. The Q4 sensors can also be used to control the weld seam tracking itself for rapid setup and ease of use. Even during a project, the range and scope of the Q Series sensor demonstrates the advantages of a modular system to quickly adapt to project needs, where the smallest system has provided fast analysis of pipes as small as 105mm. The low power, with standard communication protocols, enable battery powered systems to transmit wireless data to other systems for review and cloud back up.
Benefits for the client
Accelerated testing cycles obtained thanks to automation, of course increases productivity. Measuring results are made available at maximum precision and excellent repeatability. The inner surface of the pipeline can be inspected to 100%. In practice, the non-contact laser measurement technology delivered by QuellTech GmbH is used as a complement as well as a partial substitution of cost-intensive ultrasonic equipment.
This pipeline solution was implemented in cooperation between The Validation Centre (TVC) LTD and QuellTech GmbH:
The Validation Centre (TVC) Limited
Mr. Chris Cathles
Unit 15
Brinell Way
Harfreys Industrial Estate
Great Yarmouth
Norfolk, NR31 0LU

