Coating thickness measurement in materials testing
A thickness measurement of different materials is necessary in the production of primary materials such as steel (steel strip) or plastics. The thickness (height) of a block of steel is measured as a whole.
In a layer thickness measurement, different materials are applied to a carrier (e.g. paint and plastic) and the thickness of the individually applied materials is measured.
VIDEO: Fully Automated Steel Ingot Inspection
Applications for materials testing:
The application optical coating thickness measurement, is necessary in many industrial plants and processes, so that a constant material thickness can be monitored and guaranteed in the material testing inline in production. This applies to all types of materials, whether metals or plastics.
Especially when applying different layers of materials to carrier surfaces, it is often necessary to continuously measure inline these layer thicknesses for thickness and surface quality before applying further layers of material, such as:
- Powder coatings
- Zinc coatings
- Lacquer coatings
- Battery foil coatings
- Plastic coatings
Advantages of non-contact thickness measurement
Many materials cannot be measured tactilely, therefore non-contact thickness measurements become necessary. Especially e.g. with glowing materials, or wet processes, a continuous tactile measurement is nearly impossible. Furthermore, web speeds in plant engineering and production have increased, requiring a corresponding fast sampling rate of the measuring systems. In addition, high measuring widths are often required.
Why is non-contact measurement technology so perfect for this application?
- Can be used in any web width,
- Scalable measurement thicknesses from a few millimetres to several meters,
- Thickness and coating thickness can be measured for different materials,
- Vibrations of the web materials, can be compensated,
- Turnkey solution for mechanical engineering,
- Non-contact and non-destructive measurement method,
- Large distances to the measured object are possible,
- Measurement of free forms,
- High web speeds of up to 41 million points/sec. and 3µ resolutions are possible.
Disadvantages of other measuring methods
In addition to thickness measurement and coating thickness measurement with non-contact laser measurement technology, there are other measurement methods that can have some disadvantages in practice.
Capacitive thickness measurement
Capacitive thickness measurements are only suitable for small measurement ranges and on flat surfaces, and EMC ingress can be problematic.
Photothermal coating thickness measurement
This is an infrared measurement, the disadvantage is that with each new material pairing, also a new calibration must be made.
Ultrasonic coating thickness measurement
Ultrasonic and eddy current measurement methods are only efficient when flat geometries are to be measured. Only small path widths are possible and often a water film is necessary to couple the signals and there are more restrictions in the material type.
Thickness and coating thickness measurement with QuellTech solution

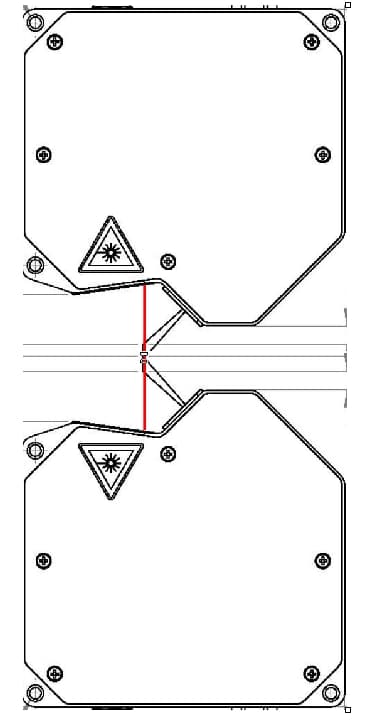
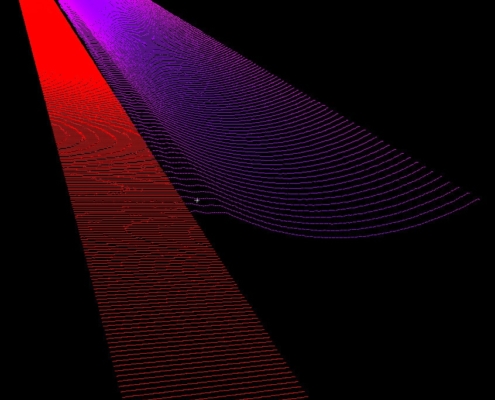
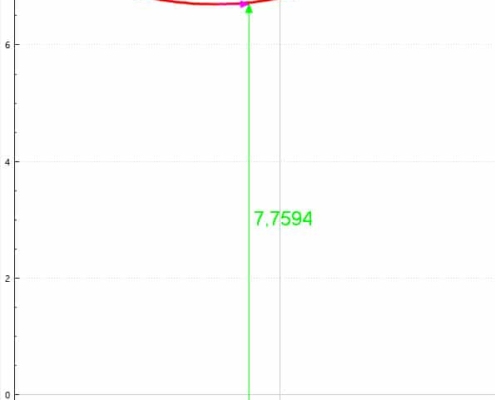
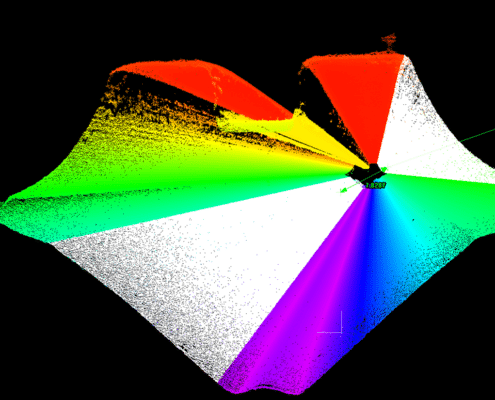
The desired measurement accuracy is achieved by each of these laser lines recording a height profile of the respective surface. These height profiles of the respective surface sides are subtracted from each other and result in a two-dimensional coating thickness profile. With this method of coating thickness measurement, many profiles are measured in the direction of movement of the medium and produce in the result a point cloud of the thickness or coating thickness, which can be detected immediately in the case of deviations from the tolerance, over the entire width of the material.
In industrial metrology, thickness measurements with laser sensor technology can be used in any web width and in a measurement thickness of a few millimetres up to several meters and that for different materials. Measurements of the coating thickness at high web speeds are also possible because vibrations of the web material can be compensated with Industrial Image Processing Software by QuellTech.
In this QuellTech turnkey solution , the QuellTech Image Processing Software enables the individual definition of tolerance fields and the detection of long-term trends that can occur, for example, due to tool wear. At the same time, the software remains parameterizable for the user without further programming.
Advantages of the QuellTech solution:
- Continuous inline monitoring of material thickness prevents rejects and results in better product quality.
- An additional time-consuming random sample inspection at a separate test station is no longer necessary.
- Prompt identification of measurement deviations of the coating thickness or thickness of the material and further processing of the measured values.
- Preventive maintenance of machines in materials testing through evaluation of long-term data in the measurement deviation.
- Production quality and productivity in industrial metrology are significantly improved by the QuellTech turnkey solution.


