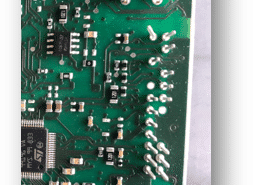
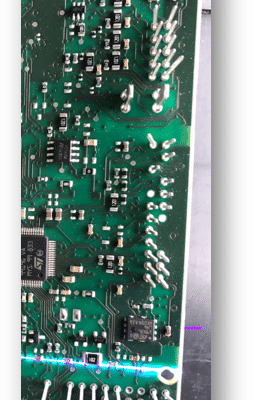
Initial situation:
Verification of Correct Position of Contact Pins in Electronic Assemblies
Contact of electronic assemblies to other equipment is frequently ensured by plug-in systems featuring a defined number of pins. The pins must be positioned in a particular contact spacing, otherwise a plug-in connection is not possible. The following exclusion criteria have to be considered:
- Incorrect height of a pin
- Pins outside contact spacing or absent
- Bent or twisted items
Manual inspection, normally carried out on the bases of 2D cameras, is extremely time-consuming and not reliable, as this way it is only possible to check the horizontal position, but not the correct height.
Particular Challenges of the Application
For laser scanners in a normal configuration, precise measurement is difficult, as the pins are extremely thin and the reflecting area is small. This is valid particularly for the tip of the pin.
QuellTech solution
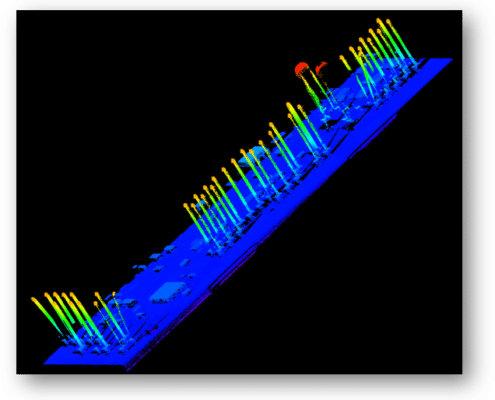
In order to increase the number of reflected pixels of a pin, QuellTech orients a Q5 scanner at an angle of 45° with respect to the surface, so it is possible to capture the whole length of the pin.
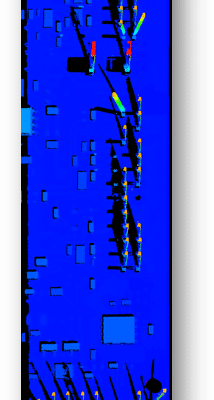
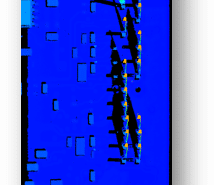
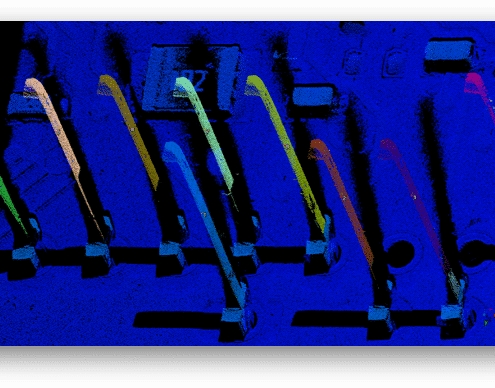
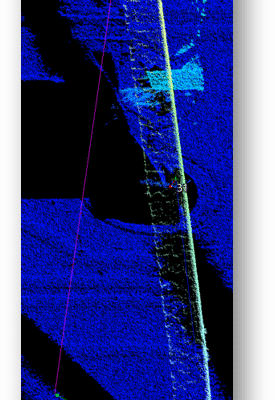
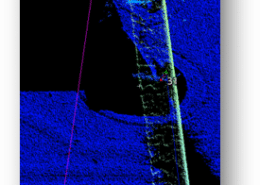
Due to the orientation of 45°, the complete lateral surface of the pin is recorded in the form of a 3D point cloud, thus increasing the number of pixels. This sophisticated approach enables simultaneously the angular deviation of the pin (with respect to the circuit board), as well as straightness and height of the item, to be measured.
The production plant simultaneously makes use of a precise linear axis traveling along the pin zone of the circuit board, while transmitting its position to the QuellTech Q5 laser scanner. This means that the laser scanner finally delivers profiles, which -in combination with the encoder position values- are composed to a point cloud which can be compared to specified tolerance fields by the Quelltech 3D-Vision Software. Pins outside tolerance are identified at once, an NIO message is sent to the SPC, and the concerned part is screened out.
Benefits for the client
The advantage of this extremely quick and reliable 100% inspection is that it covers several parameters at the same time: Position, straightness and height of the pins. This enables a production line of safe plug-in connectors to be achieved under stringent and permanent quality control.
You are currently viewing a placeholder content from Facebook. To access the actual content, click the button below. Please note that doing so will share data with third-party providers.
More Information
