Initial Situation:
Planarity measurement on metal plates
The planarity of surfaces of mechanical components must be checked. There are tolerances of less than 15 microns for the planarity specified.
So far, the flatness has been measured with tactile CMM system. This is a time-consuming process that can only be performed on a random basis.
Particular Challenges:
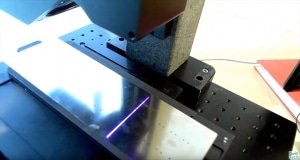
The measurement data of the parts were previously recorded using a tactile measurement method (CMM system). To upgrade the system to a 100% inline test system, a QuellTech high-resolution, high-scan-speed Laser Scanner was intended to be used. In order to use this laser-assisted test process in a production with a 100% in-line test, several challenges had to be mastered: the ambitious cycle time had to be maintained, the flatness values should be comparable to the tactile recorded values. It had to be taken into account that a tactile stylus tip has significantly larger dimensions than a laser line. As a result, the values measured with lasers assume significantly higher values than the tactile measured values. Furthermore, areas of the edges of the surface had to be specially treated, since there were unwanted reflections, which falsified the measurement result.
QuellTech Solution:
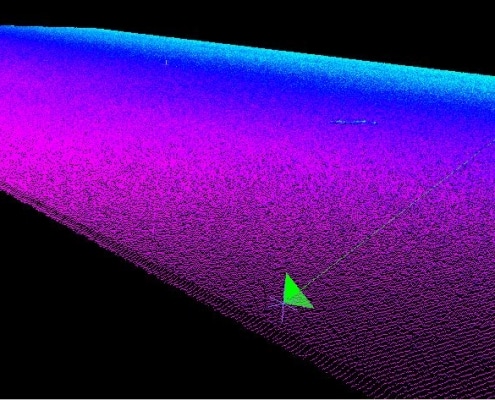
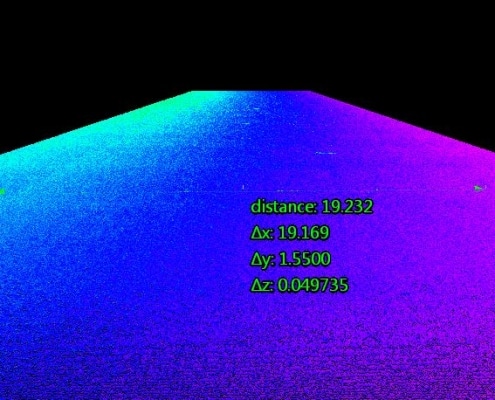
The advantage of the QuellTech Laser Scanner is its high resolution and the possibility to record point clouds at high scanning rates. In addition, it is able to output a nearly reflection-free 3D point cloud. Over 12 million points were recorded within a few seconds in this application. The precision of the measurement was a few thousandths of a millimeter. The software can be parameterized to such an extent that the planarity value measured with the laser scanner corresponds approximately to the tactilely measured value. The edge areas of the test area were subjected to a separate test.
Benefits for the Client:
The high-resolution QuellTech laser scanner has proved to be an important tool for the customer in switching from offline testing to 100% inline testing of flatness. Thus, the quality of the final product could be improved and costly rework on the machine could be minimized.
You are currently viewing a placeholder content from Facebook. To access the actual content, click the button below. Please note that doing so will share data with third-party providers.
More Information


